CategoryPROPAGATE SUCCULENTS

Sinocrassula Yunnanensis / Sedum Pyramidatum. Grow – Care – Propagate.

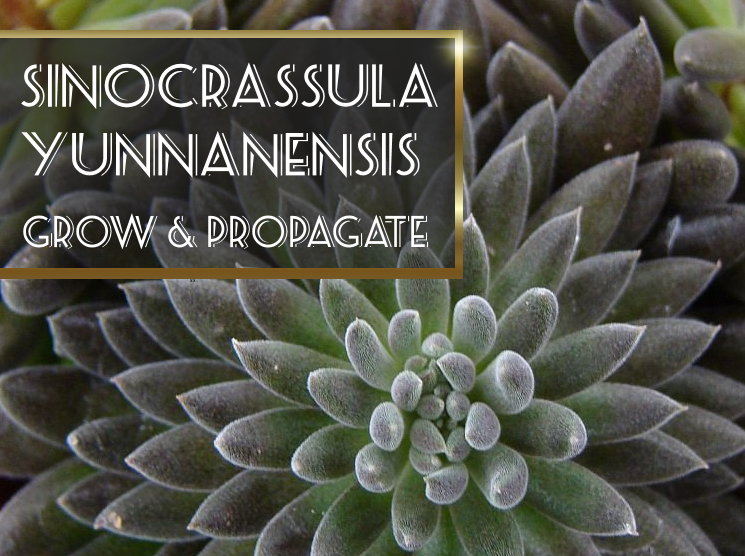
  1. Sinocrassula Yunnanensis / Sedum Pyramidatum. How to Grow, Care and Propagate.

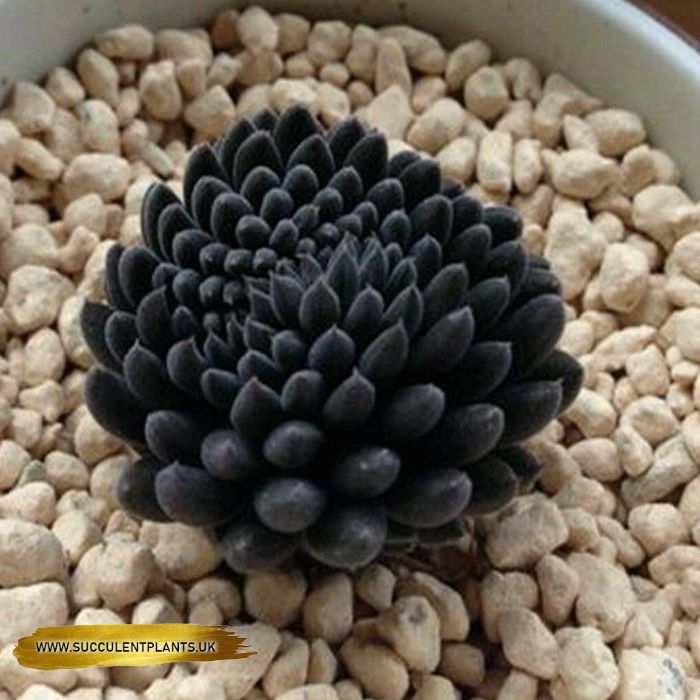
Typically dark green in colour but can often look more black than green.

Small rosette succulent about 5-10 cm tall that can eventually develop into dense clumps and blooms generously.
Rosettes: Upright, closely packed 2.5 to 3.5cm in diameter.
Leaves: Small (1-3cm), fleshy, dark green, flattened, almost terete, acuminate, each with a mucro (soft point) at the tip and patterned with purplish brown speckles and short white hairs.
Flowers: Whitish flowers with red-tips
Blooming season: Autumn or early winter.

Cultivation: These plants like plenty of light and can tolerate full sun, but don’t worry if the plants aren’t in the sunniest of place; Sinocrassula will also thrive in a less sunny spot and stays relatively small. This species prefers dry conditions and it is best to refrain from watering it until the rootball has dried out completely. The plant can then be immersed in water and well drained and left until it has completely dried out again. Its succulent leaves will store enough water to survive for a long time

Winter Hardy: They can be grown outdoors – Winter Hardy 

Houseplant: Can be grown indoors as a houseplant in a bright location.

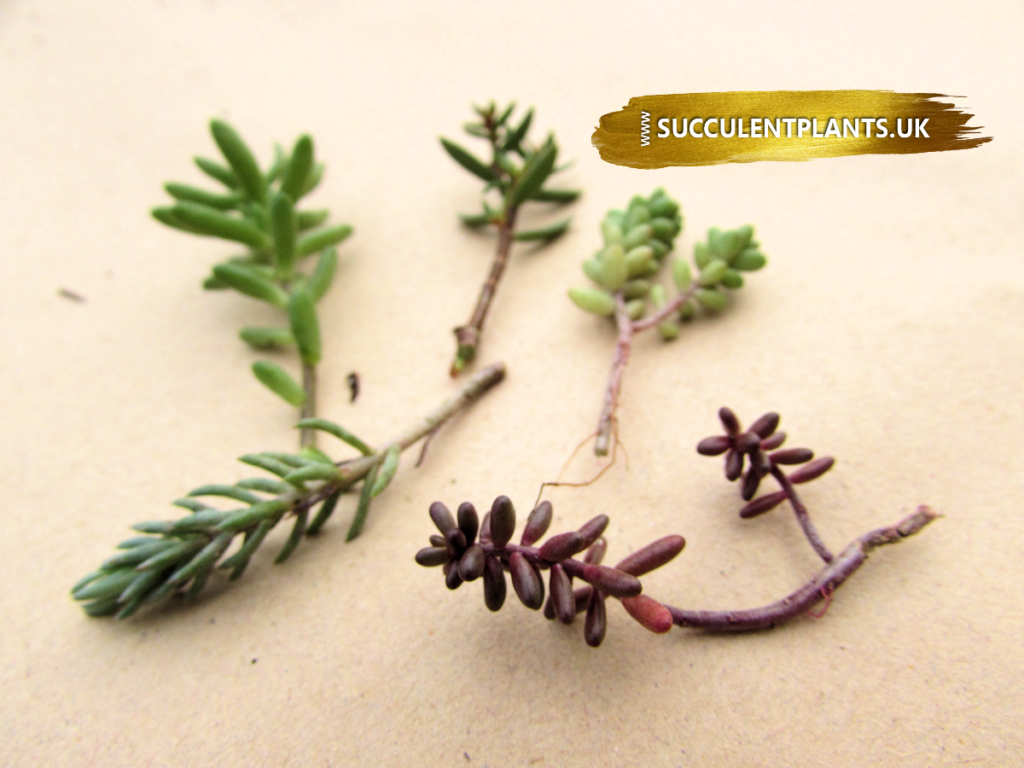
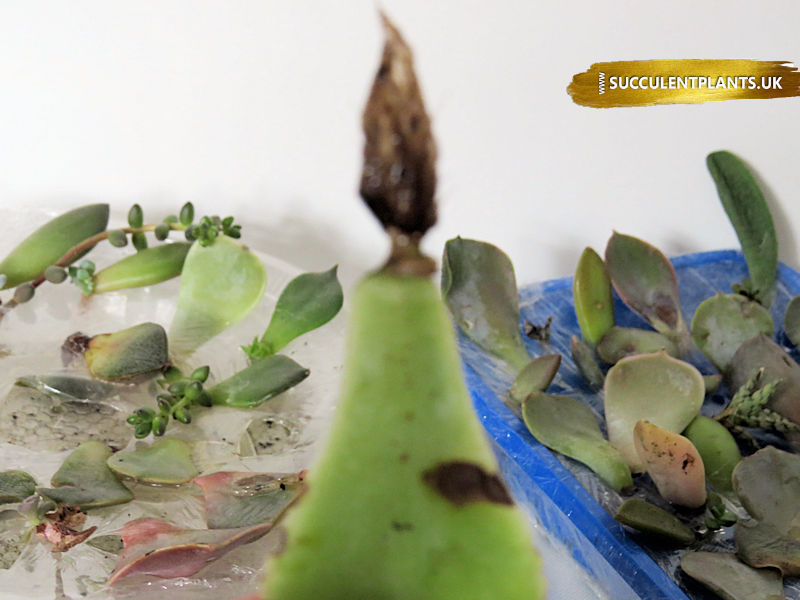
Propagation: This is a tough plant which spreads aggressively, both vegetatively by dropped leaves that root easily and by seed. Sow the seeds in winter (13-18°C) uncovered, they will germinate in around 2-3 months, division of old plant can be made in spring and late summer; cuttings in summer 

Buy Sinocrassula Yunnanensis Leaf Cuttings

20 Assorted Variety Succulent Cuttings –  Winter Hardy

How to Grow and Care for the String of Pearls Plant

The String of Pearls is a succulent plant that has a trailing or cascading habit. Its pearl-like foliage hangs on the string-like stems, hence the name. It is ideal for hanging baskets hanging planters or head planters. Basically, succulent plants are those plants that store water in their stems or foliage, which makes it easier for them survive during dry spells. While the round leaves of this plant store water, the surface area of the leaves that are exposed to the sun and dry air also get reduced due to their shape.


How to Take Care of the String of Pearls Plant

Light

The String of Pearls plant should be placed in a place that receives bright light. The pot can be placed on a window that faces south or west. The plant will do well if it receives 2-3 hours of direct sunlight and bright, indirect light for the rest of the day. If you are unable to find such a place, you can place them under a fluorescent light fixture. During the growing season, around 14 to 16 hours of artificial light on a daily basis will suffice.

Soil Requirements

Good drainage is extremely important, which is why the use of sandy soil is suggested. You could also use a potting mix that is meant for succulent plants. You could also mix potting soil and sand in the ratio of 3:1. Make sure that the soil is well-drained.

Propagation.

The string of pearls propagates quite easily, simply take stem cuttings and replant the leaves in potting soil. Make sure to keep its soil slightly moist. It should root quickly.


How To Propagate Succulent Leaves In Water – Fast Results

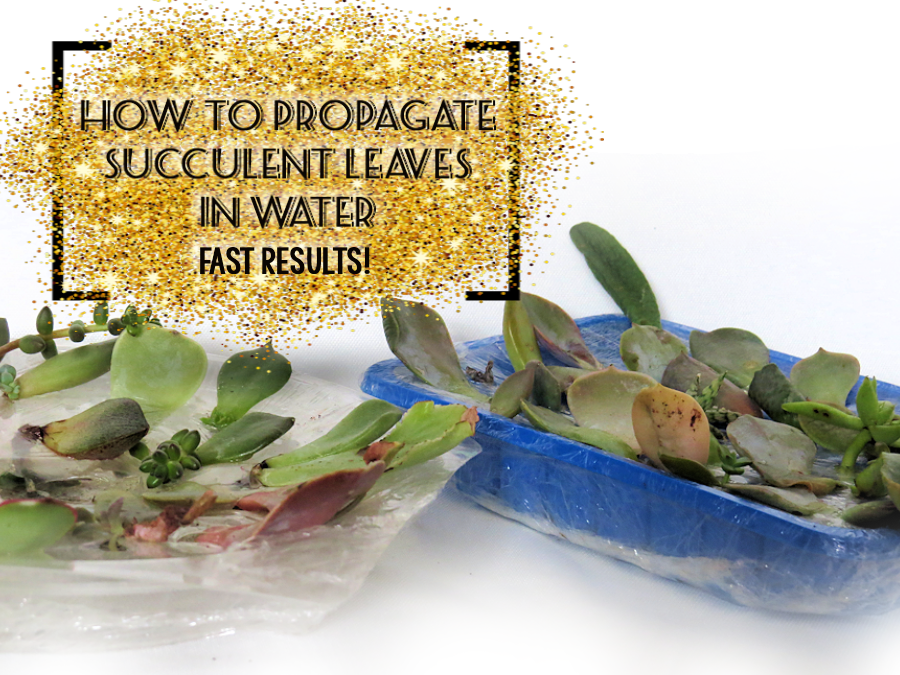
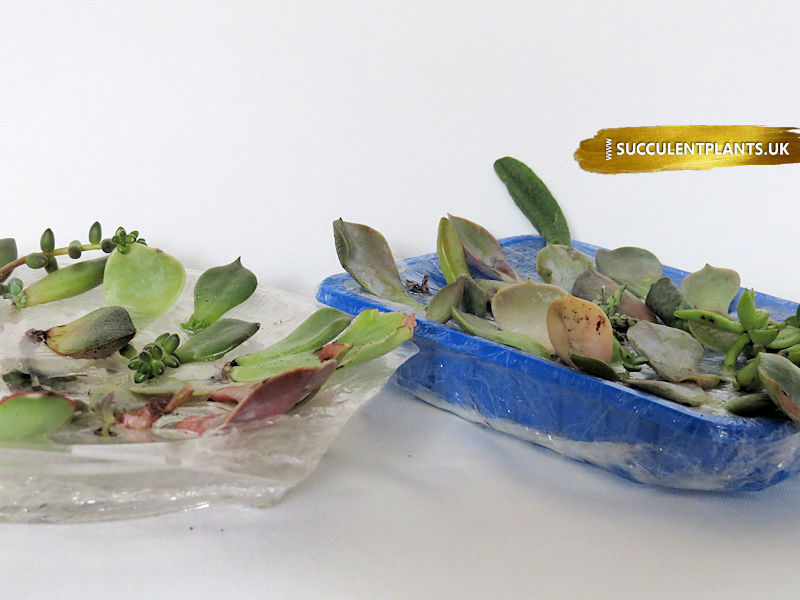
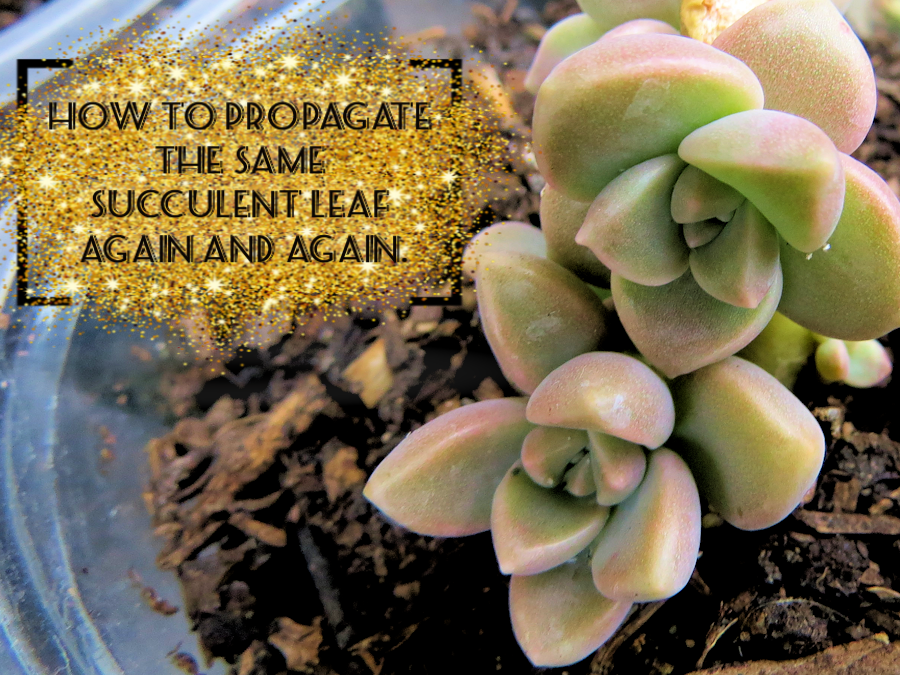
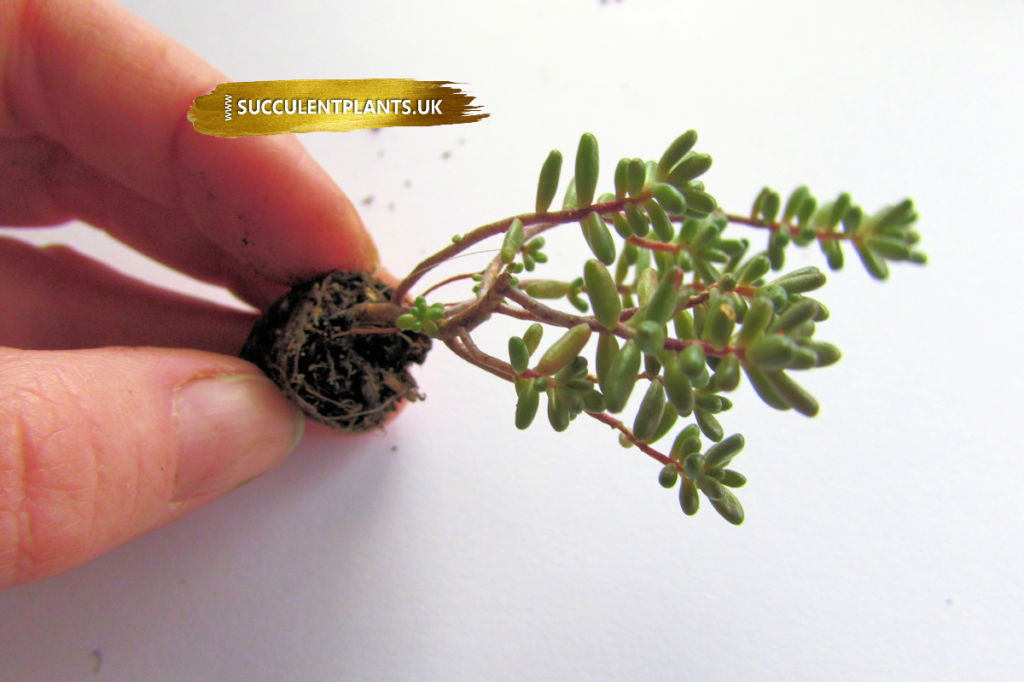
Why did I not think of this before? I propagate many plants in water and it had never entered my mind to try it on succulents.

I am horribly impatient so this method is perfect! if like me, you’re fed up of staring at leaves wishing them to have babies 😂

  • Super easy to do and very cheap method
  • Works Fast!
  • Roots are easily seen
  • works with most succulents leaves cuttings and offsets and a variety of houseplants.


How The Magic Happens.

The first and most important step is to let the cutting or offshoot callus. Leave it in an empty tray for a few days don’t skip this part or the leaf or cutting will absorb too much moisture and it may cause rotting.

Next rest the cutting or offshoot on the cling film you have wrapped around a dish. ( see video below) leave in a well sunlit place.

The callused end must be just above the water, without touching it.

In a few days you will see the roots starting to reach down into it.


RESULTS – 14 DAYS


Creative DIY Succulent Planters Made from Upcycled Finds

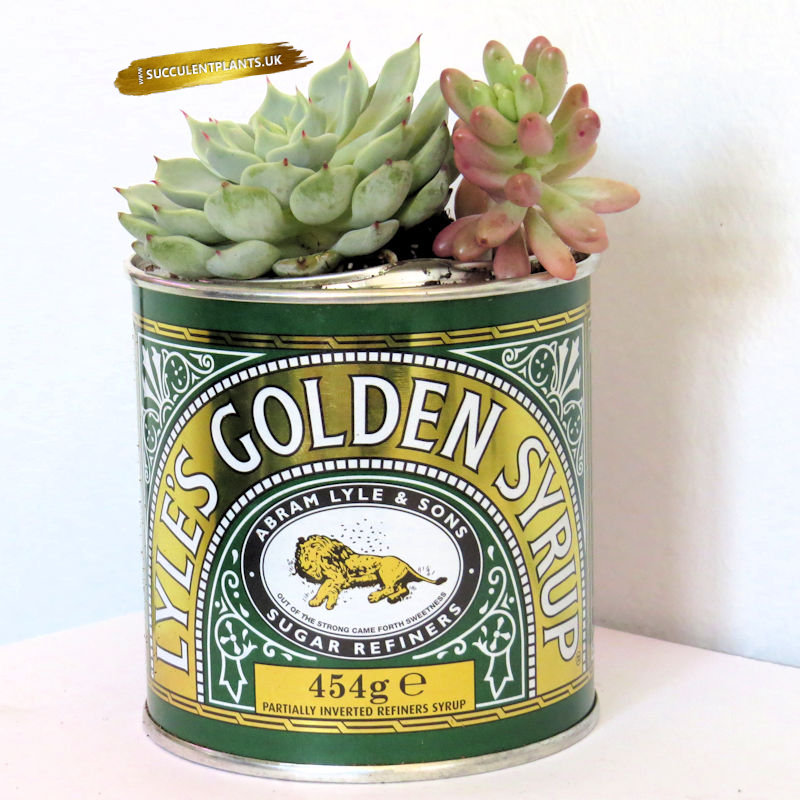
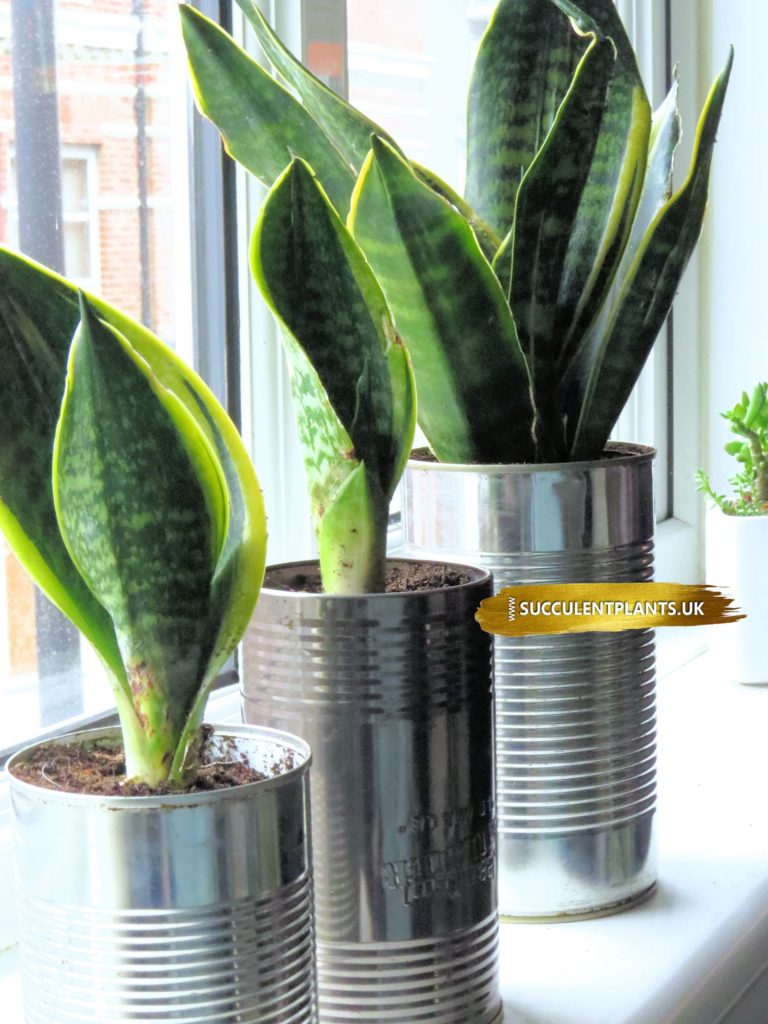
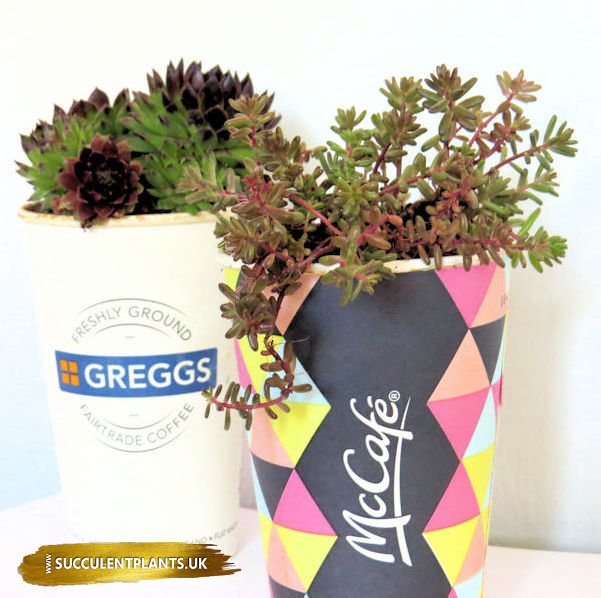
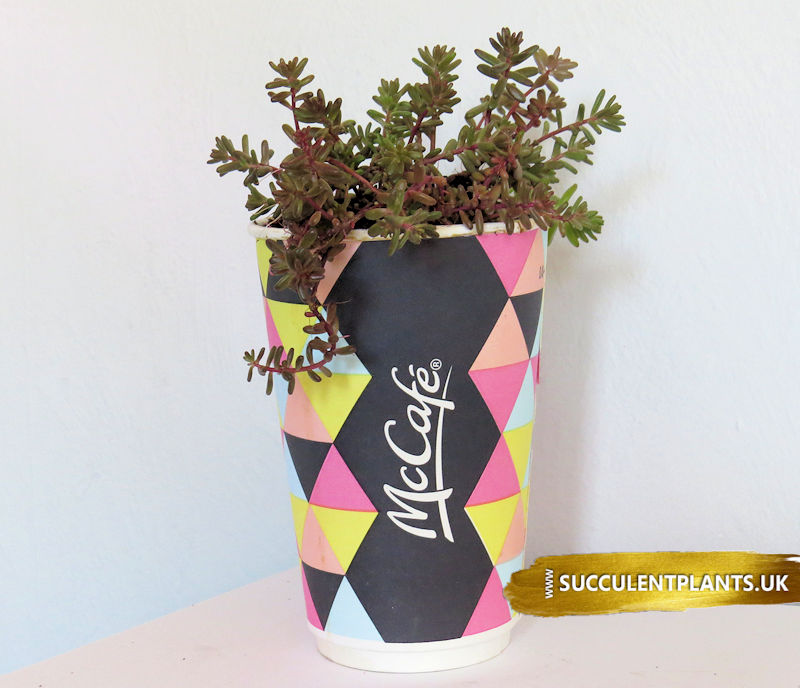
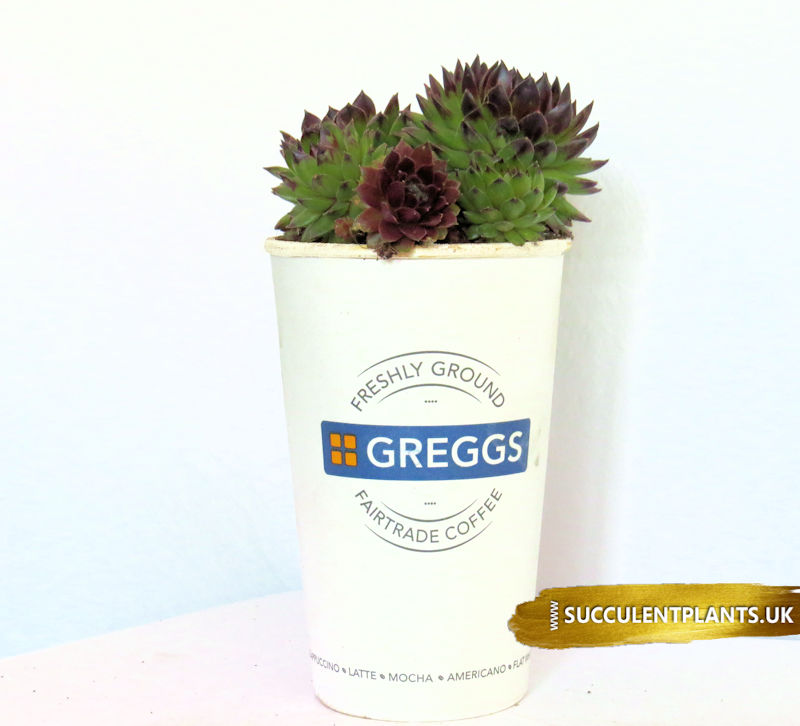
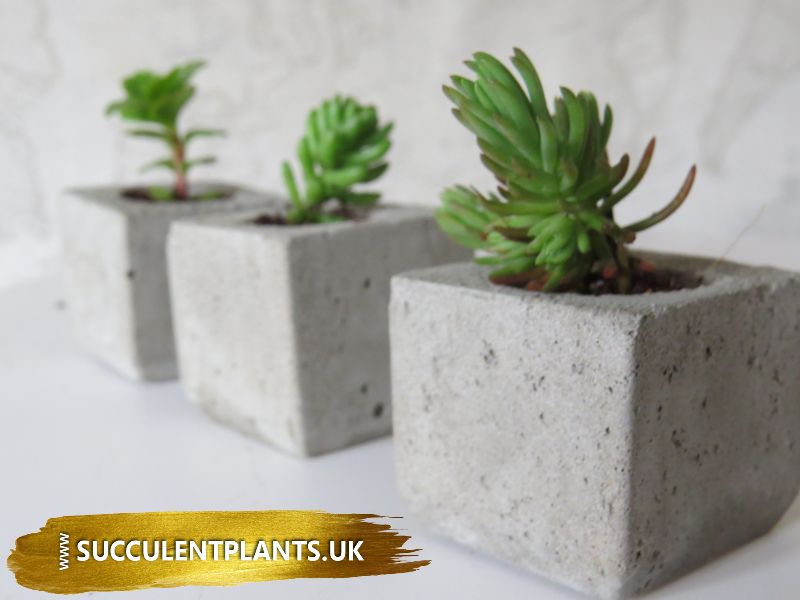
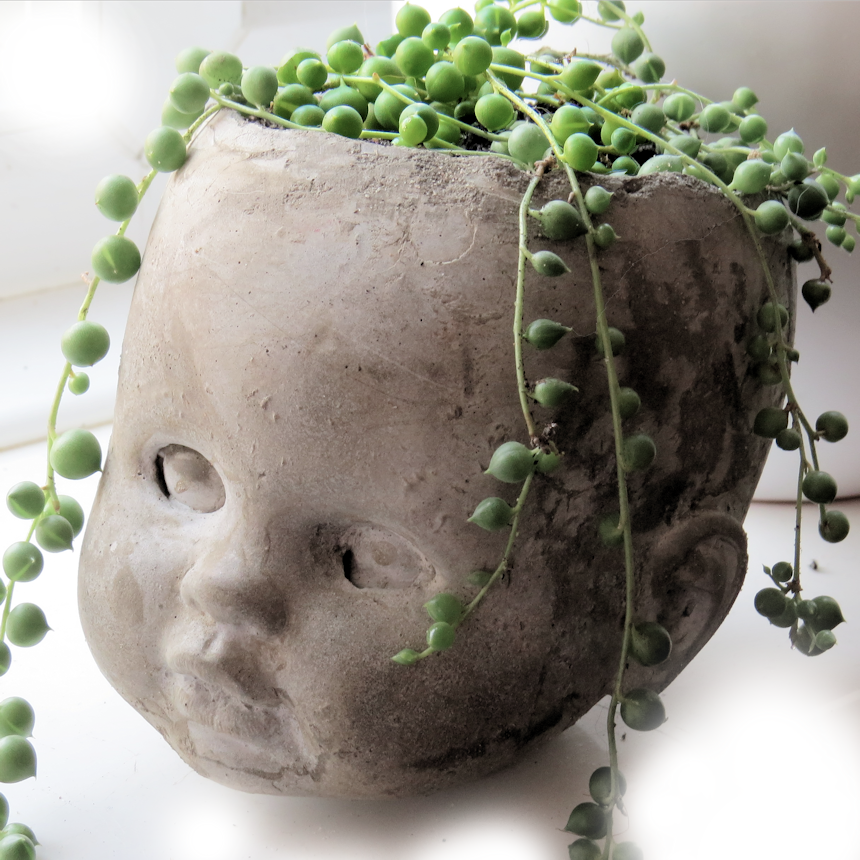
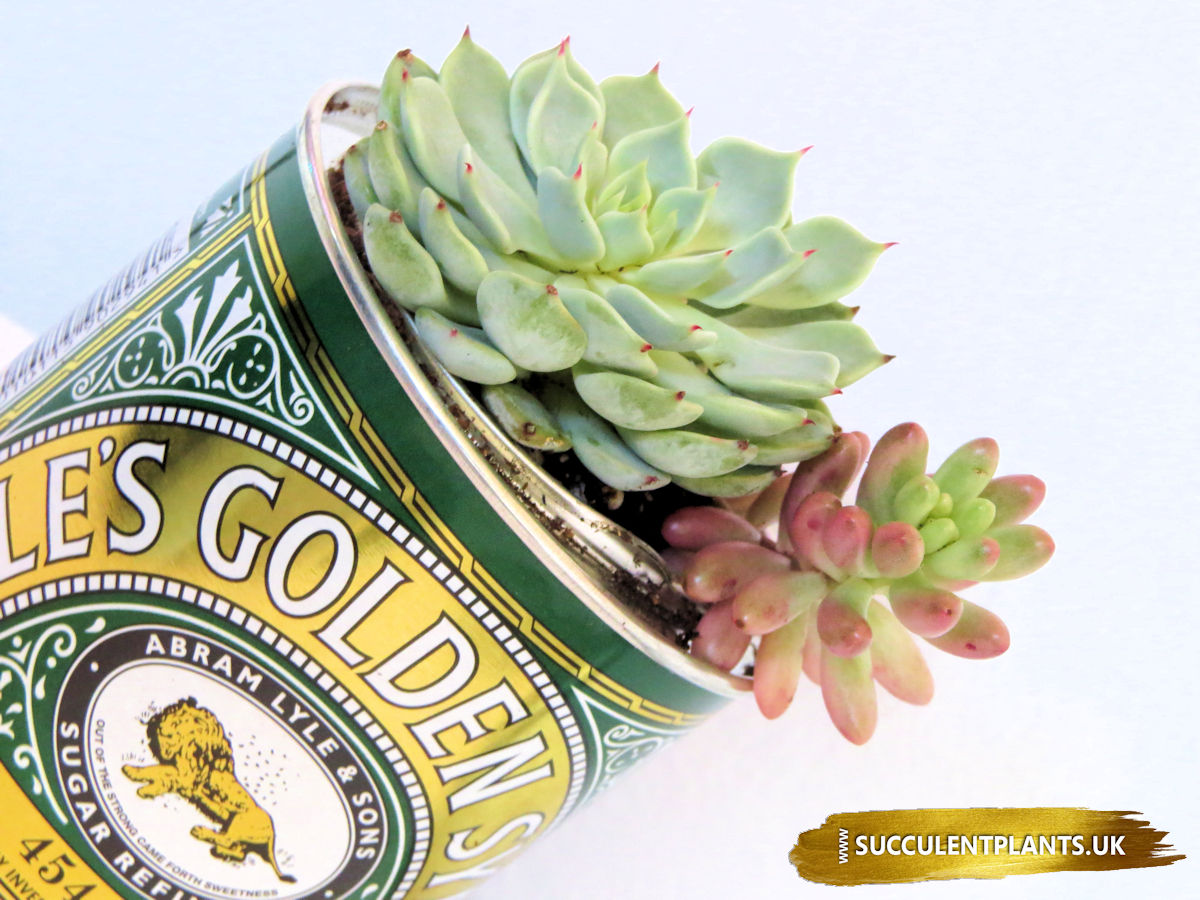
Upcycling is a way of giving new purpose to waste. Here are some creative and inspiring ideas to upcycle at home.


Plastic / Polystyrene Food Trays.

These are perfect to fill with a little succulent/cacti mix and get those leaf babies going. I have also started to experiment with water propagation and these have been very useful.


How To Propagate Succulent Leaves In Water – Fast Results

Food Tins

I use cans all the time as planters, both indoors and outdoors. Huge dog food cans all the way down to little sweetcorn tins #cute. They need to have drainage holes drilled out the bottoms but they are lovely once planted up.  I have started to varnish my outdoor tins now as they do degrade after a year or two if left in the garden.


Paper / Plastic Cups.

Once the party is over and you are left with a garden full of disposable cups, fill a bucket with soapy water give the cups a quick rinse.  Drainage holes are easy to punch in the bottom of paper cups plastic cups need a snip to create the drainage. Now you have lots of planters ready to start cuttings or seedlings these are handy to re-pot any 5.5cm succulent.

Coffee Cups

You can also apply this to your takeaway coffee cups, They are easy to put a hole in the bottom and when you have more plants than pots anything goes.  Add plenty of grit as these are deep pots or plant up some sedum cuttings, they will enjoy the root space and grow into lovely healthy plants.

Perfect for starting tomato plants and sweetcorn too 😉


How To Propagate the Same Succulent Leaf Again and Again.

Yes! it is possible! I only found this out by pure chance and thought I would share It with you all, in the hope you have the same joy 🙂

Granted I have only tested this on ghost plant (Graptopetalum paraguayense ) and they are prolific little rooters anyway.  I was still shocked to find that gently removing the baby from the mother leaf left a good clean break, so I placed mum back in the dish and waited to see if anything would happen and it did 🙂 new babies growing just as well as the first set.

Removing the baby plant from the mother leaf can be quite a delicate operation, you cold gently cut away the baby but this never feels right to me so I hold the baby between my fingers and gently rock the mother leaf back and forth as you would taking a leaf cutting, slowly and gently it will come away from the baby and you should have a nice clean break.

I should point out that I have only done so with leaves that are still plump and reasonably healthy looking, ones that have been sapped of all life creating babies would not work.

Within a week new life has started to emerge from the mother leaf again!

Please give this a try, you have nothing to lose and a new plant to gain, let me know how you get on 🙂


How To Root Sedum Cuttings.


Sedums are one of the easiest plants to start from stem cuttings. Starting new sedums from cuttings is a very simple way to propagate them. When you take a stem cutting, you’re removing a portion of stem from the mother plant and forcing it to generate an entirely new root system. As you are taking your cuttings, store them in a sandwich bag to keep them from drying out, this is best practice when taking any cuttings from your garden.

To take stem cuttings, fill a pot with damp potting mix then cut several stem pieces off the mother plant with the scissors. Each stem section should have at least two growth nodes (the place where the leaves meet the stem). Remove the lower leaves, but keep two or three of the leaves on the top because they will provide the energy needed to grow new roots. No need for rooting hormone just firmly insert the bottom quarter of the cutting into a pot of potting soil all the way up to the bottom of the remaining leaf or at least 1/4 of the cutting.

Place one cutting in each pot, then water the soil and allow the pot to drain. Water, when compost appears dry to prevents the cutting from drying out until it can form its own roots in a few weeks. Place the covered pots on a bright windowsill or in a shady spot in the garden and soon you will see new growth.  Two weeks later, the plants will be ready to plant in the garden.

You also can make more sedums by taking leaf cuttings. This method takes a bit longer, but each leaf cutting can result in dozens of tiny plants.

To make a leaf cutting, remove a single leaf from a sedum plant, using a clean, sharp knife. insert the bottom half of the leaf into a pot filled with potting mix. Cover the cutting with a plastic bag and keep it well-watered. A new plantlet will grow where the cut leaf contacts the potting mix.

25 Assorted Variety Succulent Sedum Cuttings Winter Hardy

Check out our shop for Sedum Cuttings and Cutting Planters.